
How to Install Kali Linux 2022.1 in VirtualBox? | Kali Linux 2022.1

In this article, I am going to show you How to Install Kali Linux 2022.1 in VirtualBox? | Kali Linux 2022.1. Every year Linux company releases a new version of Kali Linux. And Kali Linx 2022.1 is finally here with tons of new features and functions. It has many major changes and is a little bit better than the Kali Linux 2021. However, everyone is curious to test Kali Linux 2022.
Whenever a new operating system gets released then I install and try it on a virtual machine in order to be aware of its new features and issues that it has. So, it is better to install Kali Linux on a VirtualBox within minutes and get to know about its amazing features. Follow the below steps to install Kali Linux 2022 on VirtualBox.
Download Kali Linux 2022 ISO
Step 1. Turn on your computer and then go to Kali Linux 2020.3 download page.
Step 2. Now, scroll down and go to 64-bit and click on the Download Icon.
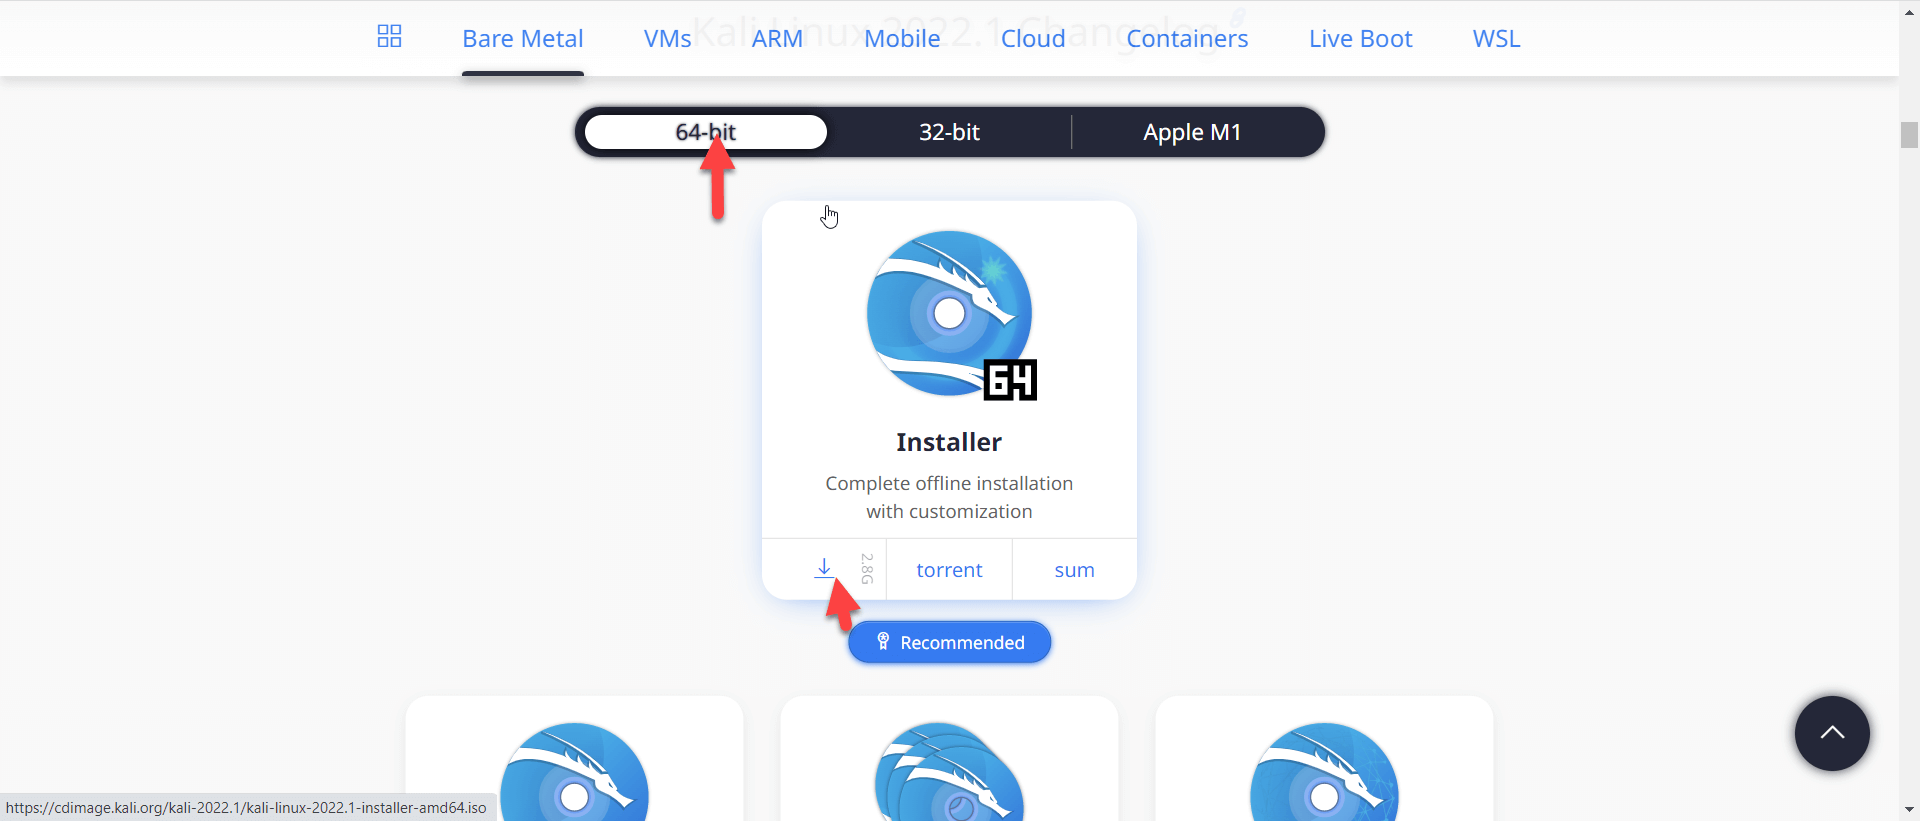 Click on the Download icon
 Create Virtual machine
Step 1. When Kali Linux is downloaded then open the Virtualbox and click on the New.
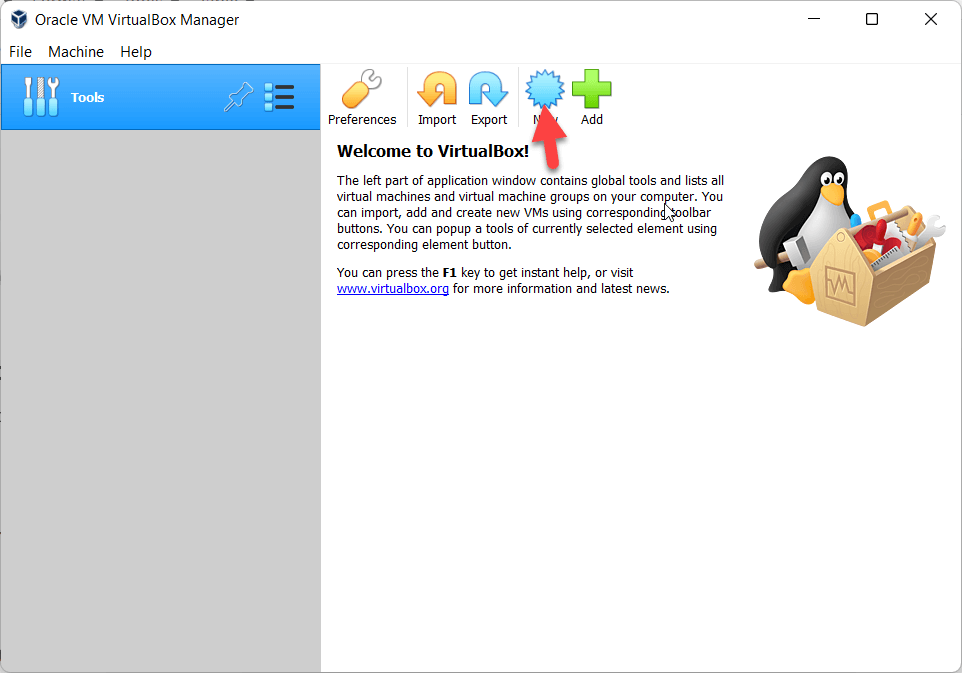 Click on the New
 Step 2. Now, type the name Kali Linux and select the Linux and click on the Next.
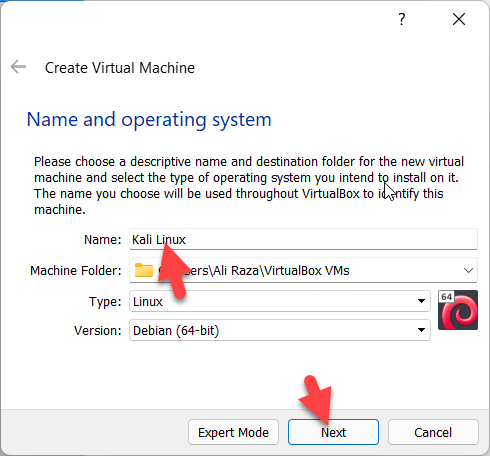 Click on the Next
 Step 3. Now, increase the memory size and click on the Next.
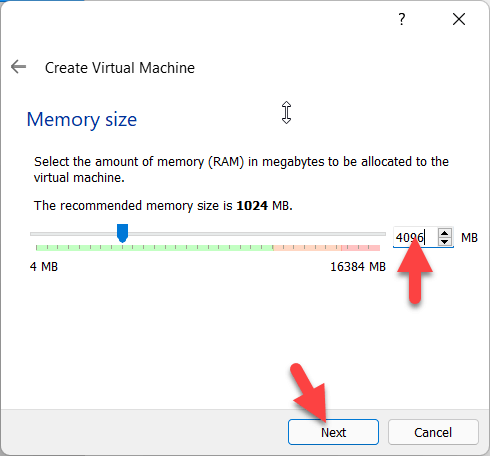 Click on the Next
 Step 4. Select the Create a virtual hard disk now and click on the Create.
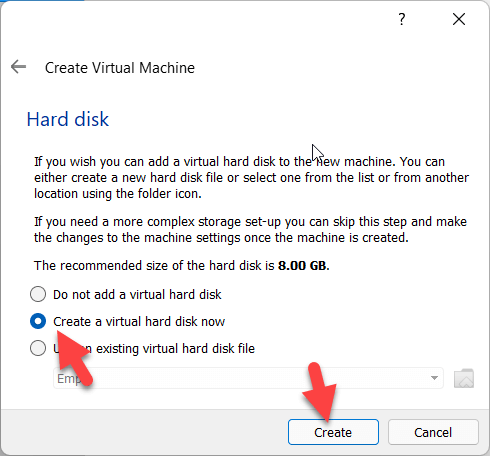 Click on the Create
 Step 5. Select the VDI (Virtual Disk Image) and click on the Next.
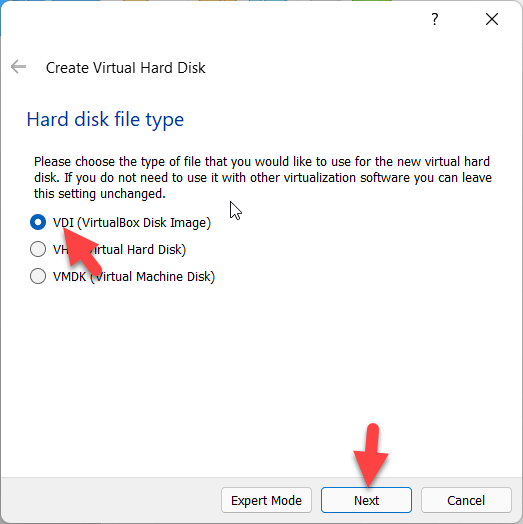 Click on the Next
 Step 6. Now, select the dynamically allocated and click on the Next.
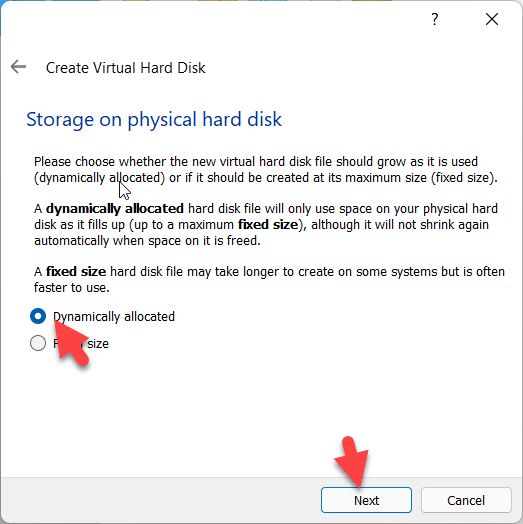 Click on the Next
 Step 7. Select where you save your file and then increase the size of my virtual hard disk.
 Click on the Create
 Step 8. When it is created then click on the Setting.
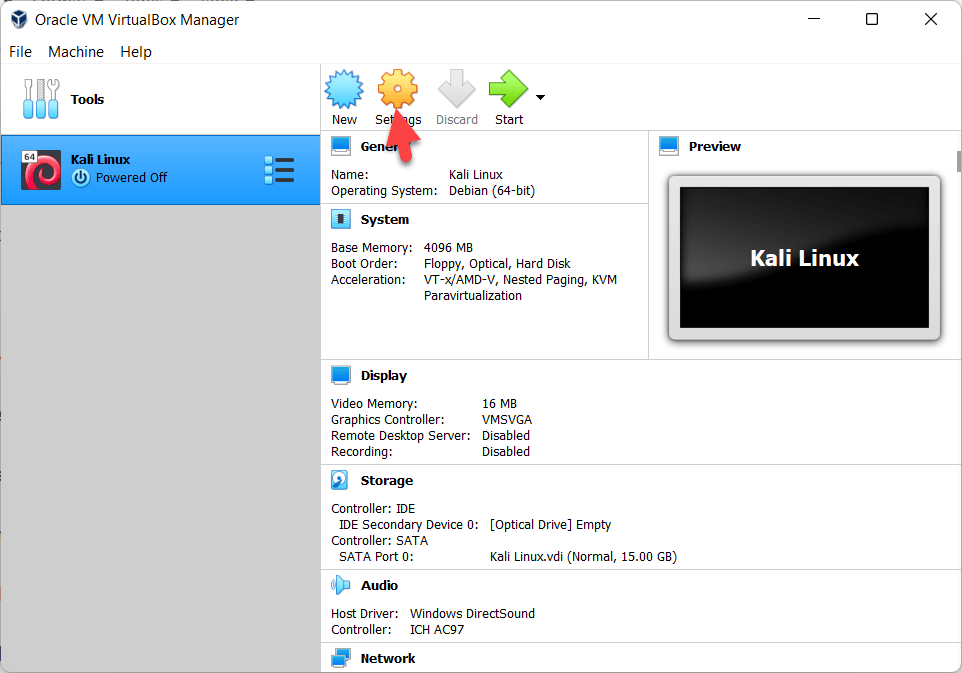 Click on the Setting
 Step 9. Go to the System tab and increase the Processor option.
 increase the Processor option
 Step 10. Go to the Storage tab and then select the Kali Linux ISO and click on the Empty.
 Click on the Empty
 Step 11. Now, go to the Network tab and then select the Bridged Adapter.
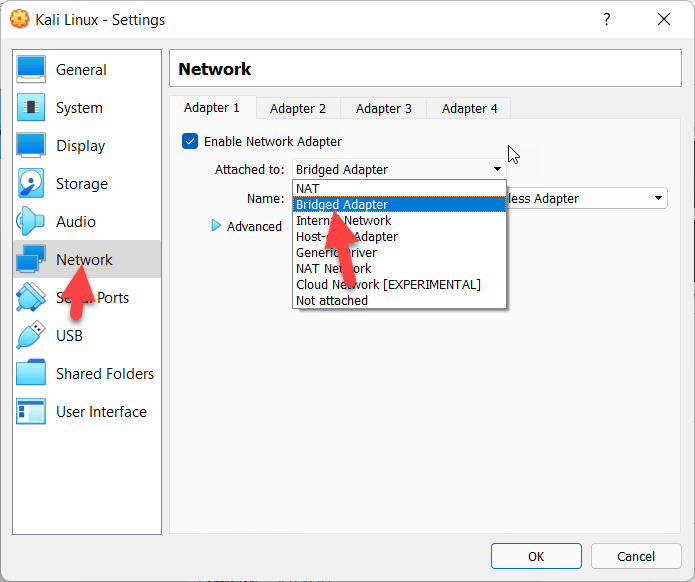 Select the Bridged Adapter
 Step 12. When it is done then click on the Start.
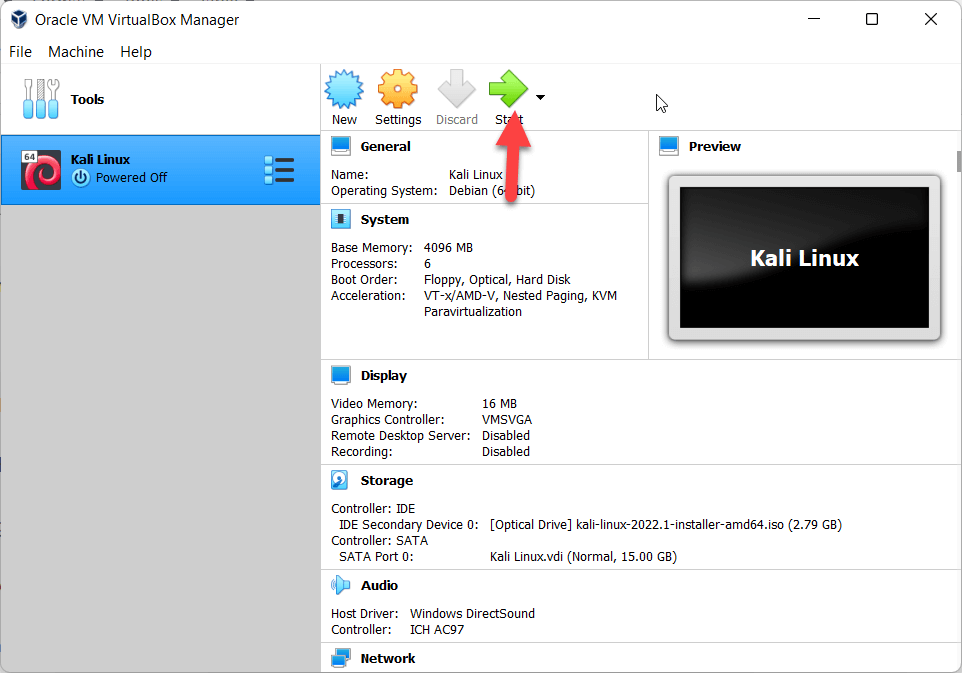 Click on the Start
 Step 13. Now, click on the Next.
Step 14. Click on the Graphical install.
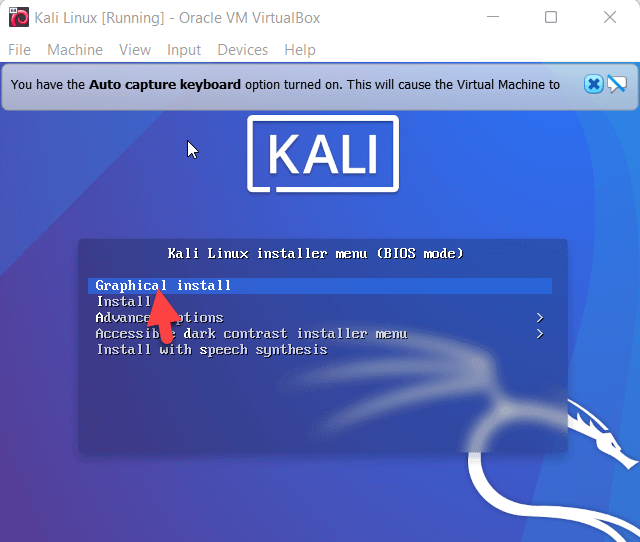 Click on the Graphical install
 Step 15. Select the languages then click on the Continue.
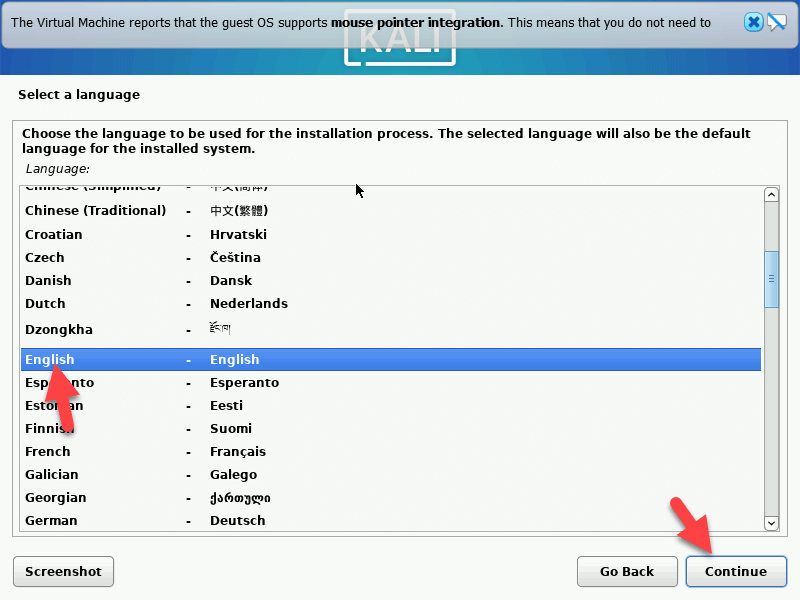 Click on the Continue
 Step 16. Now, select the location and click on Continue.
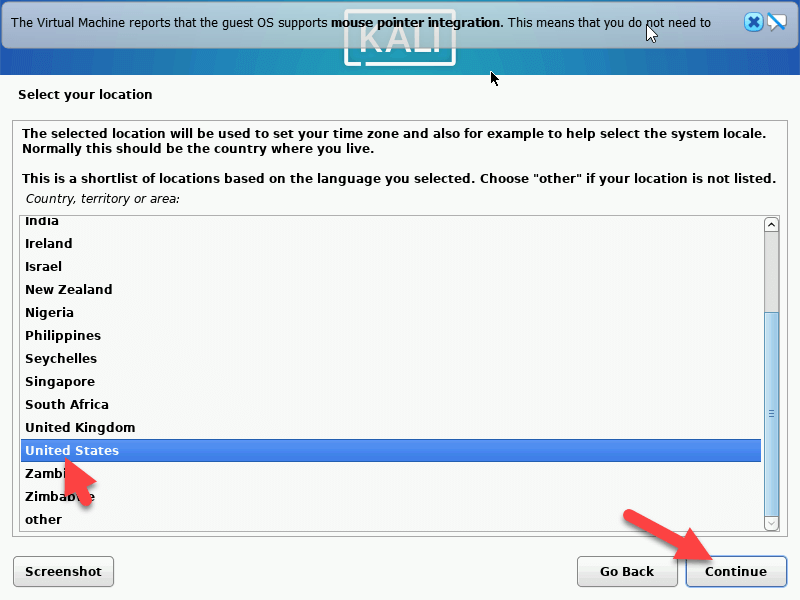 Click on the Continue
 Step 17. Select the keyboard layout and click on the Continue.
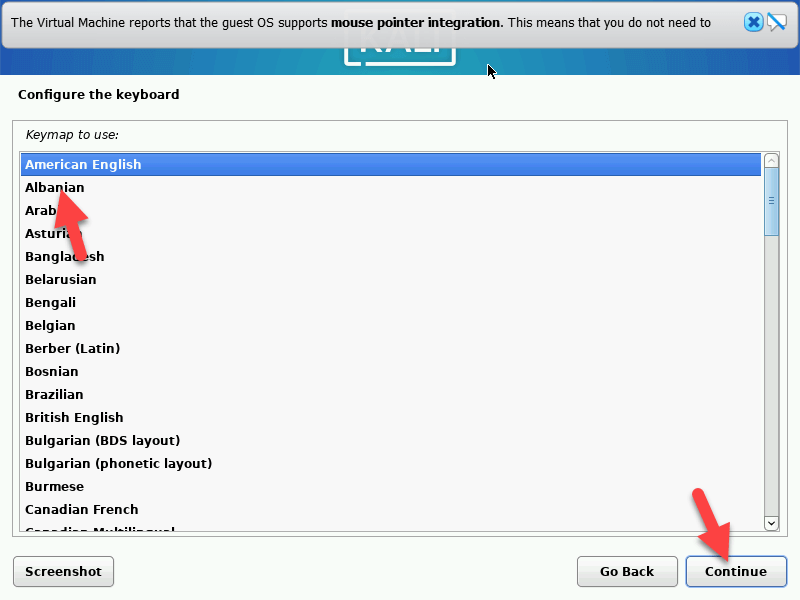 Click on the Continue
 Step 18. Type the hostname and click on the Continue.
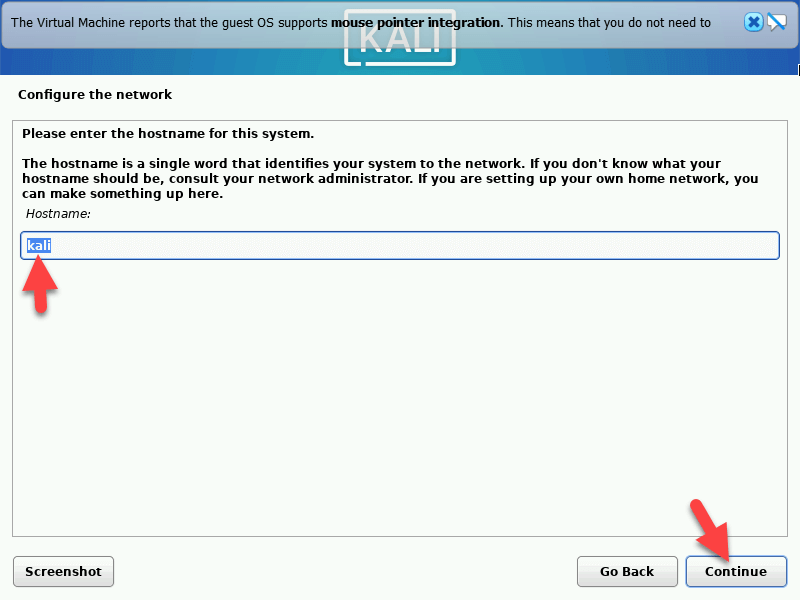 Click on the Continue
 Step 19. Now, type the domain name and click on Continue.
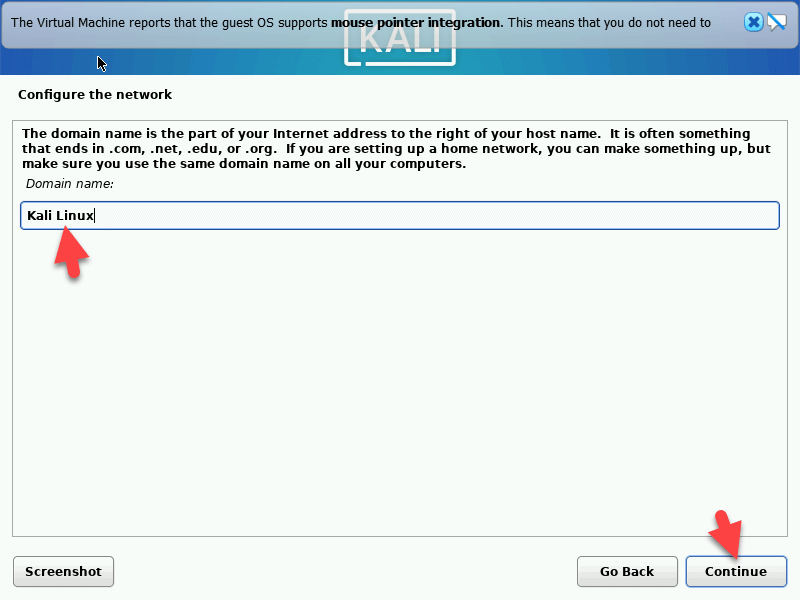 Click on the Continue
 Step 20. Type the user name and click on the continues.
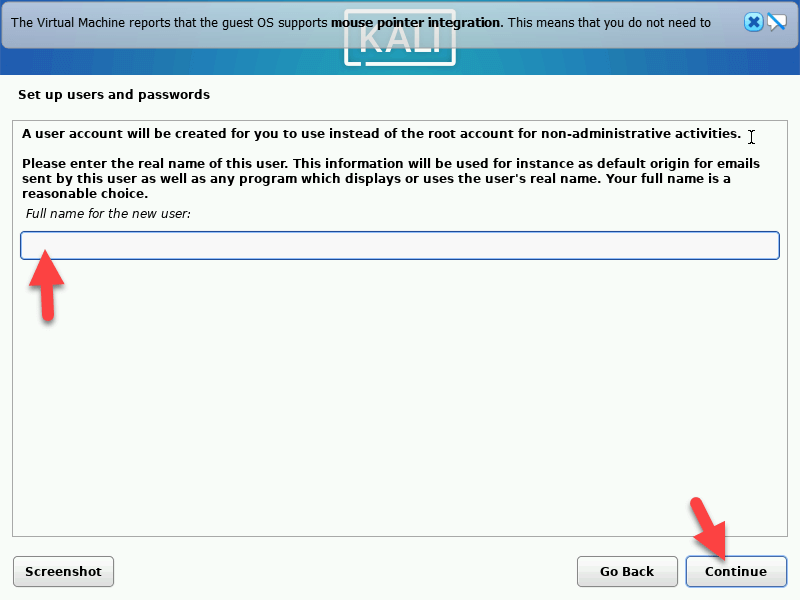 Click on the Continue
 Step 21. Now, type your account name and click on Continues.
 Click on the Continue
 Step 22. Type the password for your account and click on Continues.
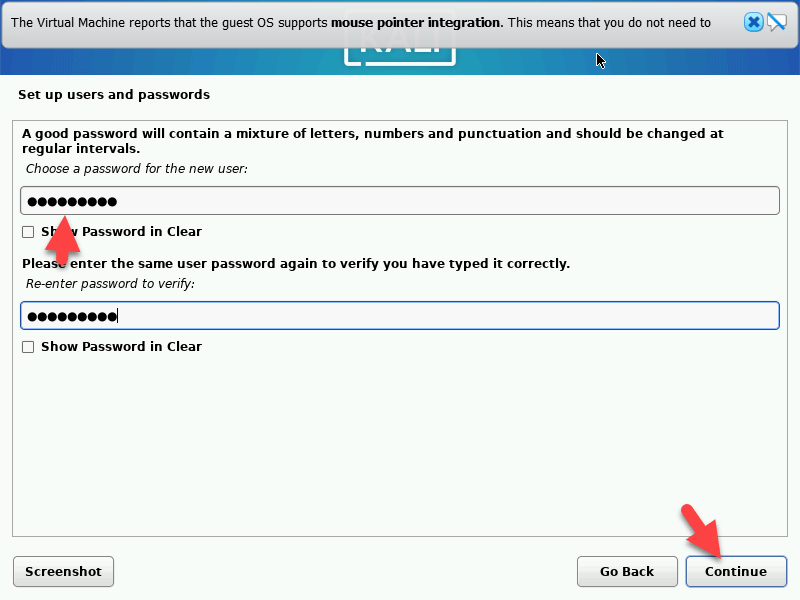 Click on the Continue
 Step 23. Select the Guided – use the entire disk and click on the Continue.
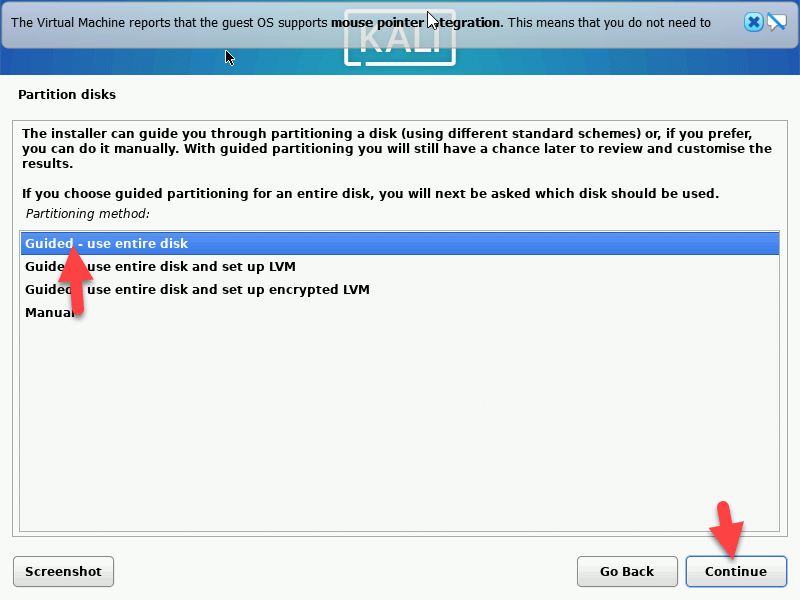 Click on the Continue
 Step 24. Click on the Continue.
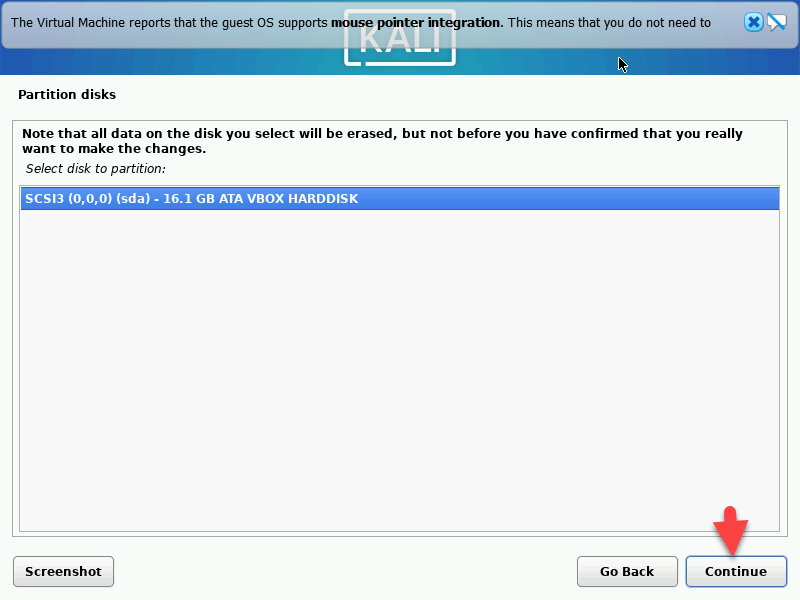 Click on the Continue
 Step 25. Select the All files in one partition (recommended for new users) and click on the Continue.
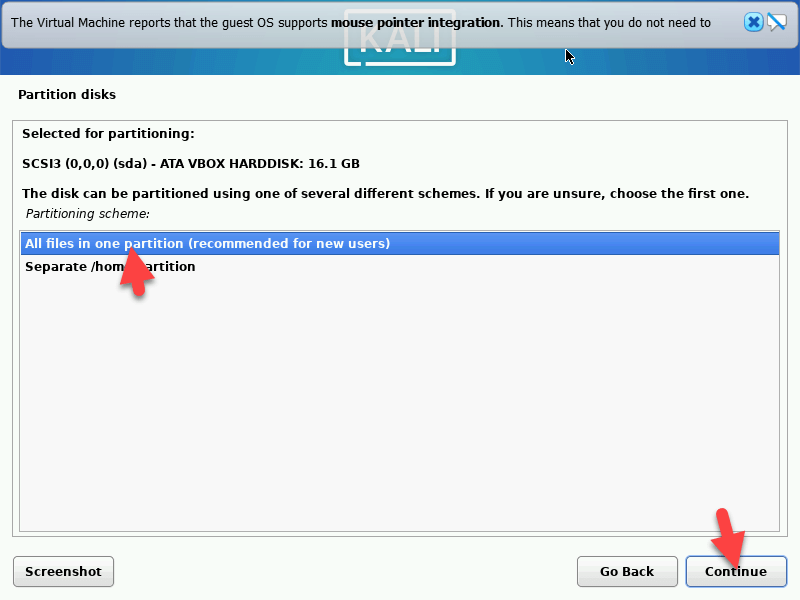 Click on the Continue
 Step 26. Click on the Continue.
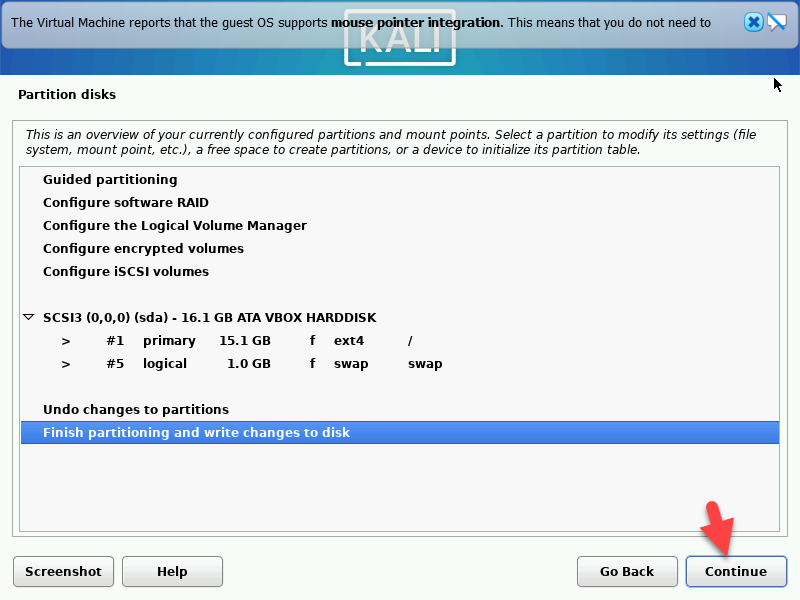 Click on the Continue
 Step 27. Select the Yes and click on the Continue.
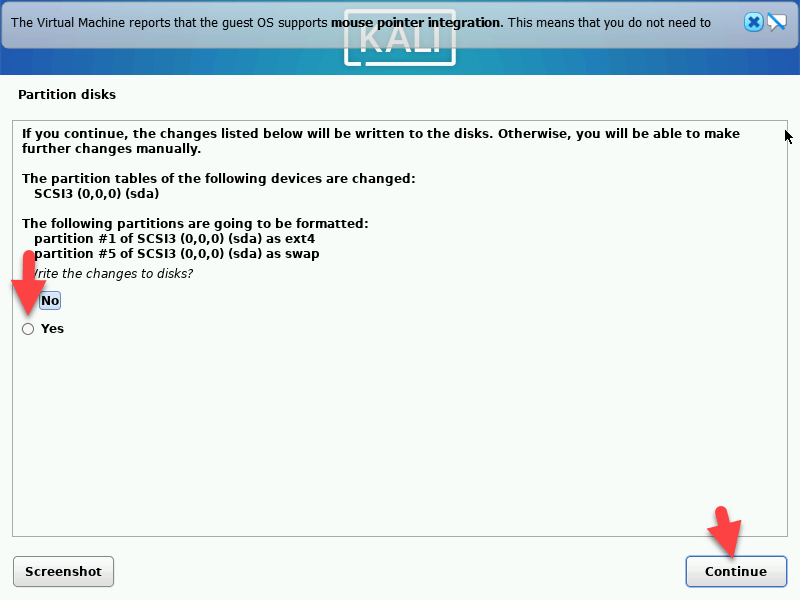 Click on the Continue
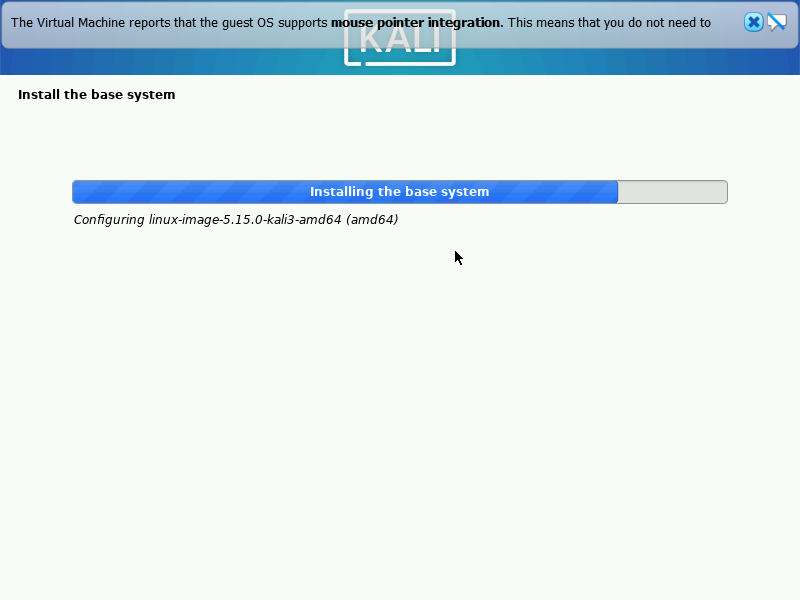
 Step 28. Now, wait for a second to install it.
Step 29. Now, type any kind of HTTP proxy and click on the Continue.
Step 30. Select the software which you want to use then click on the continue.
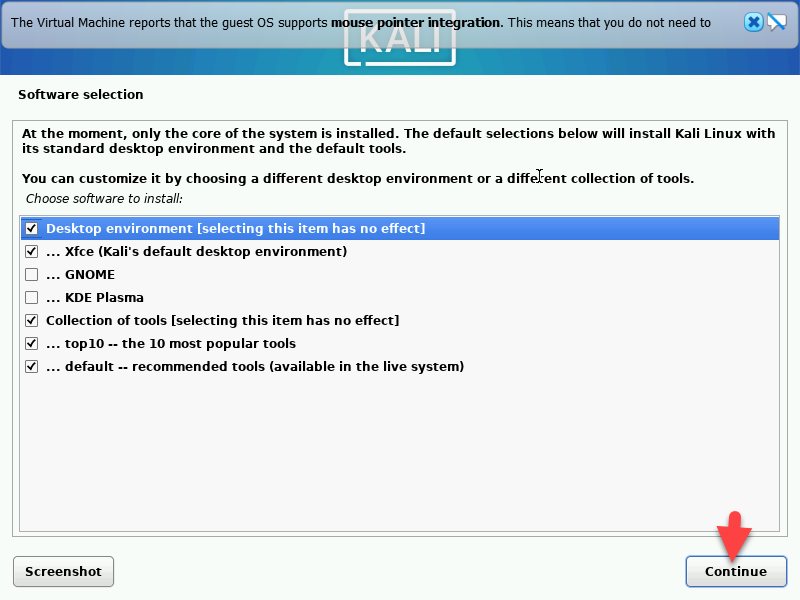 Click on the Continue
 Step 31. Again click on the Continues.
Step 32. Click on the Continue.
Step 33. Now, type your username and type the Password.
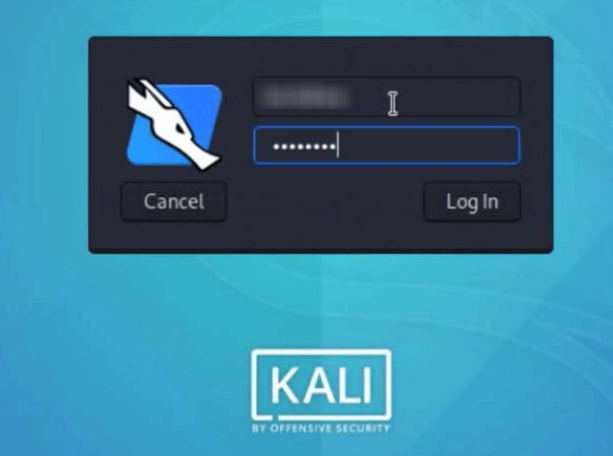 type the Password
 Step 34. Now, Kali Linux is installed on Virtualbox.
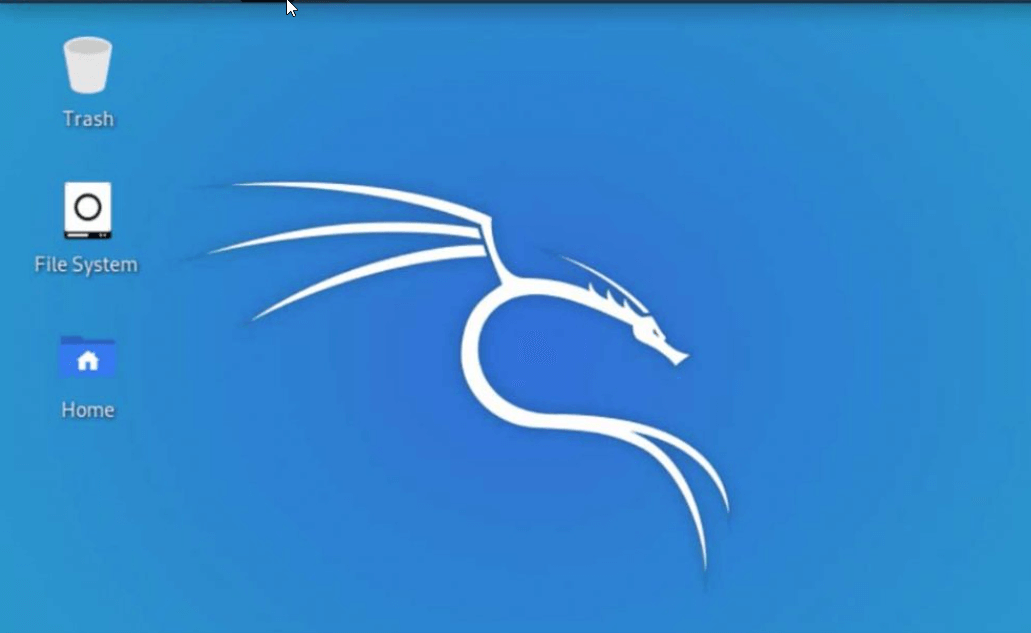 Kali Linux is installed on Virtualbox
 Final Words
It was all about How to Install Kali Linux 2022.1 in VirtualBox? | Kali Linux 2022.1. If you want Kali Linux urgently then I recommend you try it using VirtualBox because it works like a physical computer. I hope you have learned something useful. Anyhow, if you have faced any kind of problem then feel free to comment down below.
Read more:
Tagged
Share This Article
In this article, I am going to show you How to Install Kali Linux 2022.1 in VirtualBox? | Kali Linux 2022.1. Every year Linux company releases a new version of Kali Linux. And Kali Linx 2022.1 is finally here with tons of new features and functions. It has many major changes and is a little bit better than the Kali Linux 2021. However, everyone is curious to test Kali Linux 2022.
Whenever a new operating system gets released then I install and try it on a virtual machine in order to be aware of its new features and issues that it has. So, it is better to install Kali Linux on a VirtualBox within minutes and get to know about its amazing features. Follow the below steps to install Kali Linux 2022 on VirtualBox.
Download Kali Linux 2022 ISO
Step 1. Turn on your computer and then go to Kali Linux 2020.3 download page.
Step 2. Now, scroll down and go to 64-bit and click on the Download Icon.
Click on the Download icon Create Virtual machine
Step 1. When Kali Linux is downloaded then open the Virtualbox and click on the New.
Click on the New Step 2. Now, type the name Kali Linux and select the Linux and click on the Next.
Click on the Next Step 3. Now, increase the memory size and click on the Next.
Click on the Next Step 4. Select the Create a virtual hard disk now and click on the Create.
Click on the Create Step 5. Select the VDI (Virtual Disk Image) and click on the Next.
Click on the Next Step 6. Now, select the dynamically allocated and click on the Next.
Click on the Next Step 7. Select where you save your file and then increase the size of my virtual hard disk.
Click on the Create Step 8. When it is created then click on the Setting.
Click on the Setting Step 9. Go to the System tab and increase the Processor option.
increase the Processor option Step 10. Go to the Storage tab and then select the Kali Linux ISO and click on the Empty.
Click on the Empty Step 11. Now, go to the Network tab and then select the Bridged Adapter.
Select the Bridged Adapter Step 12. When it is done then click on the Start.
Click on the Start Step 13. Now, click on the Next.
Step 14. Click on the Graphical install.
Click on the Graphical install Step 15. Select the languages then click on the Continue.
Click on the Continue Step 16. Now, select the location and click on Continue.
Click on the Continue Step 17. Select the keyboard layout and click on the Continue.
Click on the Continue Step 18. Type the hostname and click on the Continue.
Click on the Continue Step 19. Now, type the domain name and click on Continue.
Click on the Continue Step 20. Type the user name and click on the continues.
Click on the Continue Step 21. Now, type your account name and click on Continues.
Click on the Continue Step 22. Type the password for your account and click on Continues.
Click on the Continue Step 23. Select the Guided – use the entire disk and click on the Continue.
Click on the Continue Step 24. Click on the Continue.
Click on the Continue Step 25. Select the All files in one partition (recommended for new users) and click on the Continue.
Click on the Continue Step 26. Click on the Continue.
Click on the Continue Step 27. Select the Yes and click on the Continue.
Click on the Continue Step 28. Now, wait for a second to install it.
Step 29. Now, type any kind of HTTP proxy and click on the Continue.
Step 30. Select the software which you want to use then click on the continue.
Click on the Continue Step 31. Again click on the Continues.
Step 32. Click on the Continue.
Step 33. Now, type your username and type the Password.
type the Password Step 34. Now, Kali Linux is installed on Virtualbox.
Kali Linux is installed on Virtualbox Final Words
It was all about How to Install Kali Linux 2022.1 in VirtualBox? | Kali Linux 2022.1. If you want Kali Linux urgently then I recommend you try it using VirtualBox because it works like a physical computer. I hope you have learned something useful. Anyhow, if you have faced any kind of problem then feel free to comment down below.
Read more: