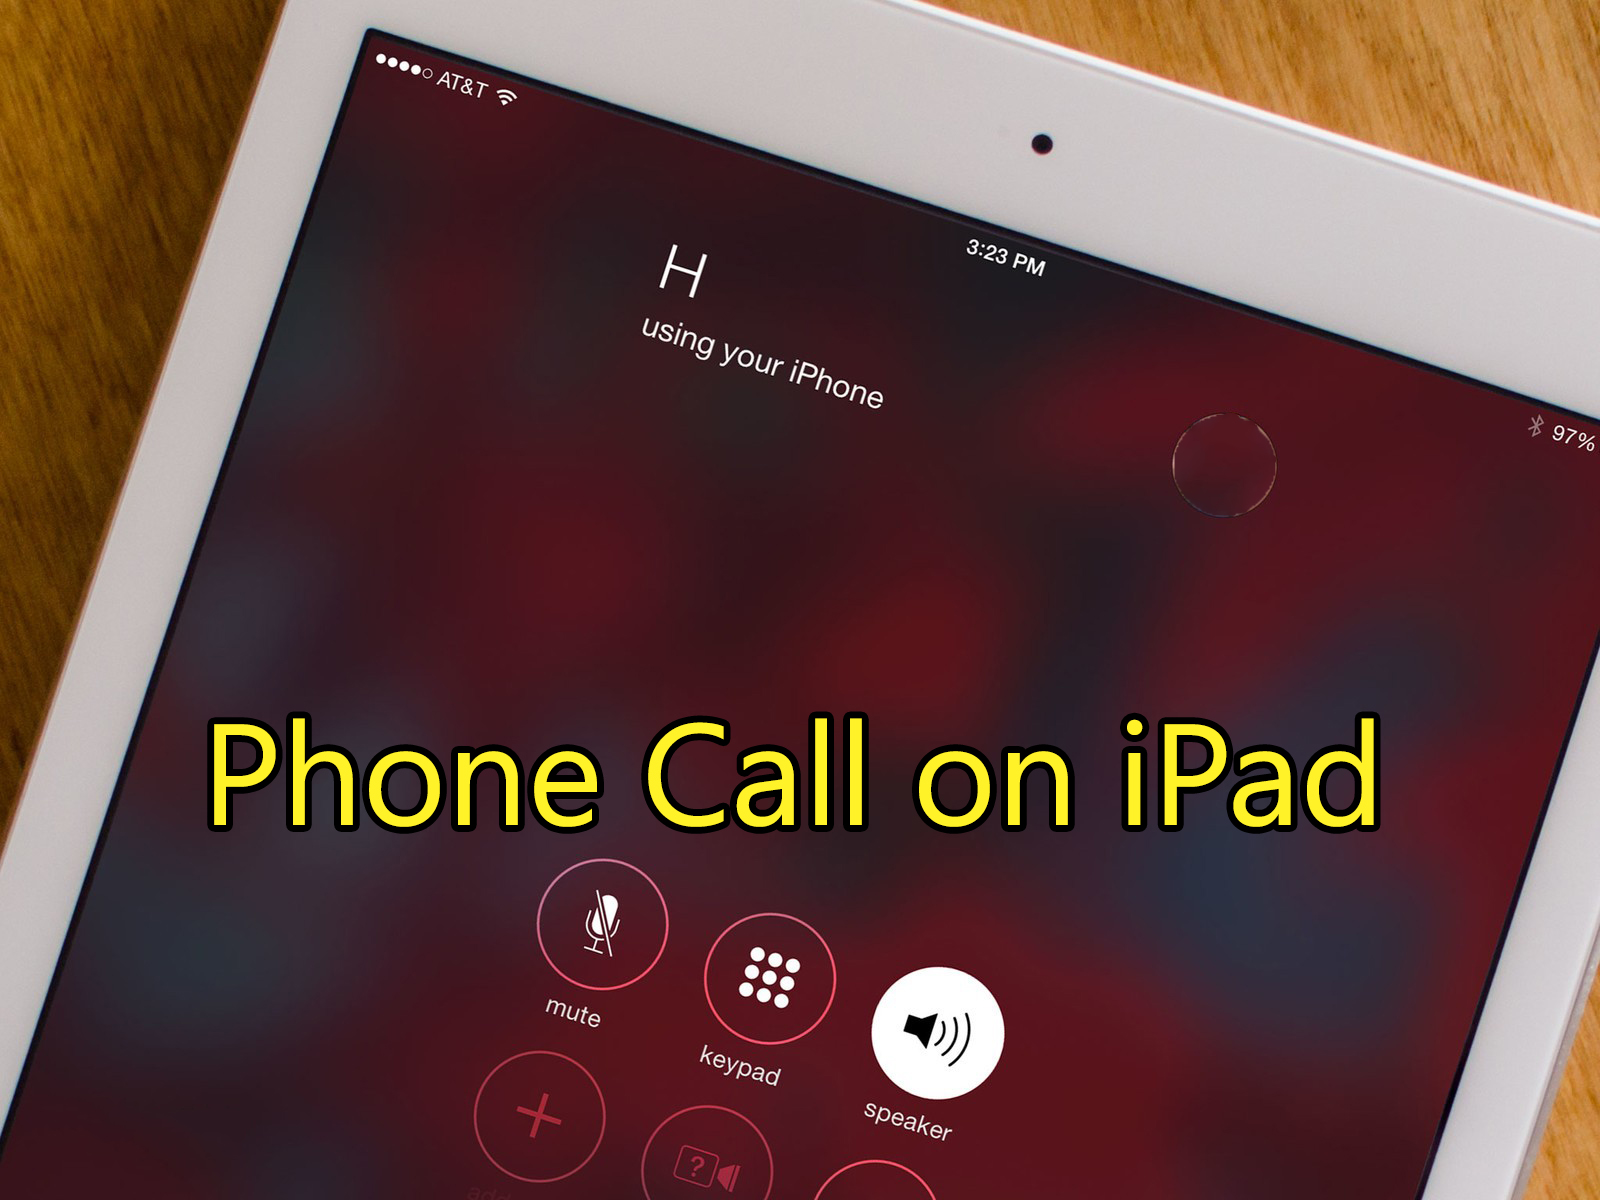
How to Make and Receive Phone Call on iPad or iPod Touch
In this article, I am going to guide you How to Make and Receive a Phone Call on iPad or iPod Touch with a very simple method. Since we are in the era of technology than each and everything should be possible regarding technology. Sometimes it happens that your mobile is not with you, you might be playing with your iPad or iPod Touch. Then it’s obvious that you may miss some important calls or messages popping up on your iPhone. To make sure that you don’t miss any of your important calls or messages. We found a good way for you in order to make and receive an important phone call. It is something weird which you have not heard of yet. So, the method in this doesn’t need any third-party software or any particular app. We will do it from one iPhone and one iPad.
Before we should start guiding you on Make and Receive Phone Call on iPad or iPod Touch, be pretty sure that these things are the same on both iPhone and iPad: iOS 8.1 or later on both devices, iCloud with the same Apple ID, FaceTime with the same Apple ID, Wi-Fi turned on in both devices and same network on Wi-Fi. These are the five things you need to take care of before you start pairing your iPhone and iPad to take or make calls. The call relay feature in Continuity makes it possible to take and make calls on your iPad. So let’s see how you can do it. To start with, you need to make some changes on your iPhone first and then on your iPad or iPod Touch. Here you go.
 How to Make and Receive Phone Call on iPad or iPod Touch
 How to Enable Call Relay on iPhone:
Step 1. Firstly, you need to open the Setting of your iPhone and scroll down then you will see the Phone option tap on that.
Step 2. After that, tap on the Call on Other Devices.
Step 3. Next, Turn On the switch next to Allow Calls on Other Devices, then toggle the iPad switch to ON once you see your iPad in that list.
So, this is how simple away is to enable a call relay option on your iPhone. Now let’s see how you can do it on your iPad or iPod touch as well.
How to Enable Call Relay on iPad or iPod Touch:
Step 1. You need to open the Setting and scroll down on the setting and tap on the FaceTime option.
Step 2. Tap on Calls from iPhone and Turn it ON.
That’s it! It’s easy to make the settings in order to receive and make calls from your iPad or iPod Touch instead of using the iPhone. Now that you have done all the required changes to settings. Then what are you waiting for let’s have a look at how to make calls from iPad or iPod Touch.
How to Make Call on iPad or iPod Touch using Contact App:
Step 1. In order to make calls on the iPad then, first of all, you need to open the Contacts app and tap on the contact you want to call from your iPad.
Step 2. Tap on the Call button and you’re all good to place a call from your iPad without using your iPhone.
This’s it! It’s as easy as you do it from your iPhone. There is no much difference in calling from both the devices.
How to Make Call on iPad or iPod Touch using the FaceTime app:
Step 1. Open the Facetime app then you need to tap on the + icon located at the top right of the screen.
Step 2. Now it is time to enter the phone number, name or email address of the person you want to call. Select the contact if it already appears on your iPad or enters it on your own.
Step 3. After finding the person you want to call then tap on the Audio button from the bottom of the screen to place a call from your iPad.
Related:
Final Words:
That’s all about How to Make and Receive Phone Call on iPad or iPod Touch. These are some simple hacks to place a call from your iPad instead of using your iPhone. Let me know in the comment section if you face any sort of problem or having any questions regarding this article. I hope it was beneficial and easy in order to make and receive and make the call on the iPad instead of using any smartphone. Don’t forget to comment on your feedback and suggestion.
Tagged
Share This Article
In this article, I am going to guide you How to Make and Receive a Phone Call on iPad or iPod Touch with a very simple method. Since we are in the era of technology than each and everything should be possible regarding technology. Sometimes it happens that your mobile is not with you, you might be playing with your iPad or iPod Touch. Then it’s obvious that you may miss some important calls or messages popping up on your iPhone. To make sure that you don’t miss any of your important calls or messages. We found a good way for you in order to make and receive an important phone call. It is something weird which you have not heard of yet. So, the method in this doesn’t need any third-party software or any particular app. We will do it from one iPhone and one iPad.
Before we should start guiding you on Make and Receive Phone Call on iPad or iPod Touch, be pretty sure that these things are the same on both iPhone and iPad: iOS 8.1 or later on both devices, iCloud with the same Apple ID, FaceTime with the same Apple ID, Wi-Fi turned on in both devices and same network on Wi-Fi. These are the five things you need to take care of before you start pairing your iPhone and iPad to take or make calls. The call relay feature in Continuity makes it possible to take and make calls on your iPad. So let’s see how you can do it. To start with, you need to make some changes on your iPhone first and then on your iPad or iPod Touch. Here you go.
 How to Make and Receive Phone Call on iPad or iPod Touch
 How to Enable Call Relay on iPhone:
Step 1. Firstly, you need to open the Setting of your iPhone and scroll down then you will see the Phone option tap on that.
Step 2. After that, tap on the Call on Other Devices.
Step 3. Next, Turn On the switch next to Allow Calls on Other Devices, then toggle the iPad switch to ON once you see your iPad in that list.
So, this is how simple away is to enable a call relay option on your iPhone. Now let’s see how you can do it on your iPad or iPod touch as well.
How to Enable Call Relay on iPad or iPod Touch:
Step 1. You need to open the Setting and scroll down on the setting and tap on the FaceTime option.
Step 2. Tap on Calls from iPhone and Turn it ON.
That’s it! It’s easy to make the settings in order to receive and make calls from your iPad or iPod Touch instead of using the iPhone. Now that you have done all the required changes to settings. Then what are you waiting for let’s have a look at how to make calls from iPad or iPod Touch.
How to Make Call on iPad or iPod Touch using Contact App:
Step 1. In order to make calls on the iPad then, first of all, you need to open the Contacts app and tap on the contact you want to call from your iPad.
Step 2. Tap on the Call button and you’re all good to place a call from your iPad without using your iPhone.
This’s it! It’s as easy as you do it from your iPhone. There is no much difference in calling from both the devices.
How to Make Call on iPad or iPod Touch using the FaceTime app:
Step 1. Open the Facetime app then you need to tap on the + icon located at the top right of the screen.
Step 2. Now it is time to enter the phone number, name or email address of the person you want to call. Select the contact if it already appears on your iPad or enters it on your own.
Step 3. After finding the person you want to call then tap on the Audio button from the bottom of the screen to place a call from your iPad.
Related:
Final Words:
That’s all about How to Make and Receive Phone Call on iPad or iPod Touch. These are some simple hacks to place a call from your iPad instead of using your iPhone. Let me know in the comment section if you face any sort of problem or having any questions regarding this article. I hope it was beneficial and easy in order to make and receive and make the call on the iPad instead of using any smartphone. Don’t forget to comment on your feedback and suggestion.


![How To Fake GPS Location on iPhone Without Jailbreaking [2023]](/_next/image?url=https%3A%2F%2Fwriteflow-media.s3.amazonaws.com%2Fsites%2F16%2Fmedia%2F2025%2F10%2Fgps-location-feature-wlaR2F.webp&w=3840&q=75)

![How to Schedule Emails on iPhone and iPad [2022]?](/_next/image?url=https%3A%2F%2Fwriteflow-media.s3.amazonaws.com%2Fsites%2F16%2Fmedia%2F2025%2F10%2Fschedule-emails-on-iphone-and-ipad-min-L1Jrg6.jpg&w=3840&q=75)